Transcripts
PLEASE NOTE: Digital transcripts will not be released from August 14–28, 2026 due to grades and academic standings being finalized. Any pending transcripts will be automatically released on August 29, 2026.
Sheridan College has partnered with MyCreds™ to permit students and alumni to securely request and share their Sheridan transcript digitally.
MyCreds
MyCreds™ is Canada’s new, official virtual credential wallet for post-secondary learners and graduates. The MyCreds™ platform integrates with myStudent Centre offering a streamlined user experience for all students and alumni to request and share their transcript with other educational institutions, employers or other third-party organisations securely and conveniently.
Need help with MyCreds?
For guidance on how to access or share your official digital documents, visit the MyCreds Support Hub at MyCreds.ca/Support:
- Browse the MyCreds FAQs for answers to common questions
- Chat with MYRA, MyCreds Virtual Assistant, available 24/7 to guide you through the process
- Explore the MyCreds YouTube Channel for more quick start tutorials.
Still need Support? Submit a support ticket through MYRA for additional assistance at https://mycreds.ca
Looking for an instant response? Use MYRA, MyCreds Virtual Assistant. You’ll get instant answers or be guided through creating a support ticket if needed.
View your Unofficial Transcript
It is recommended to view your unofficial transcript before requesting for your official transcript to check for discrepancies.
Once you are logged in to myStudent Centre, follow the instructions below to view your unofficial transcript online.
View your Unofficial Transcript
-
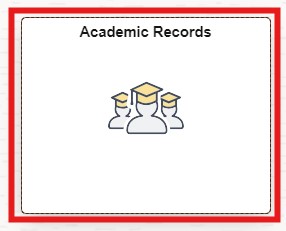
Click on the Academic Records tile in your dashboard
-
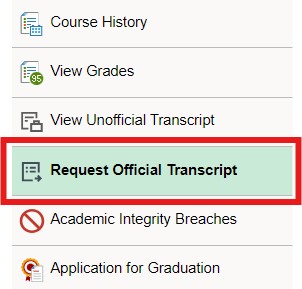
In the left-hand sidebar, click View Unofficial Transcript

-
Click the Submit button on the top right corner of the page

-
Select the View All Requested Reports tab, select the request, and click View Report to receive your unofficial transcript


How to Request an Official Transcript
PLEASE NOTE: Digital transcripts will not be released from August 14–28, 2026 due to grades and academic standings being finalized. Any pending transcripts will be automatically released on August 29, 2026.
If you want to request a Sheridan transcript for the purpose of applying to another Ontario college or university, you must request it through the corresponding service centre:
- ontariocolleges.ca for college applications
- ouac.on.ca for university applications
For all other purposes, you can request a digital transcript online through your myStudent Centre account.
Click the option below for written instructions:
Request a Digital Transcript Online
Alumni: If your academic records are from before Fall 1994, you must email academic-history@sheridancollege.ca to request your transcript. If you need to reset your password, please contact the IT department at 905-459-7533 (extension 2150). If you do not know your username, or Student ID, you can obtain it by calling the Alumni Office at 905-815-4078. Learn more about your Alumni Account.
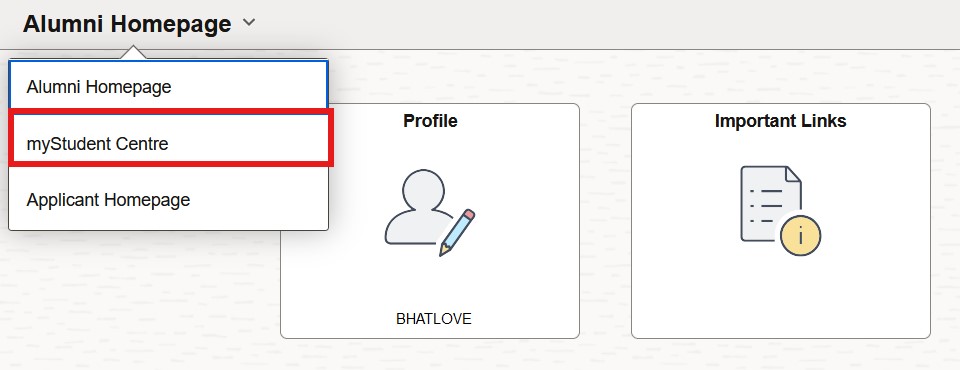
Note: To request your transcript, please navigate to myStudent Centre in your dashboard using the drop-down menu in the top left of your screen (see screenshot below) and then proceed to follow all steps outlined below:
Once you are logged in to myStudent Centre, follow the instructions below to request a digital transcript online.
-
Click on the Academic Records tile in your dashboard
-
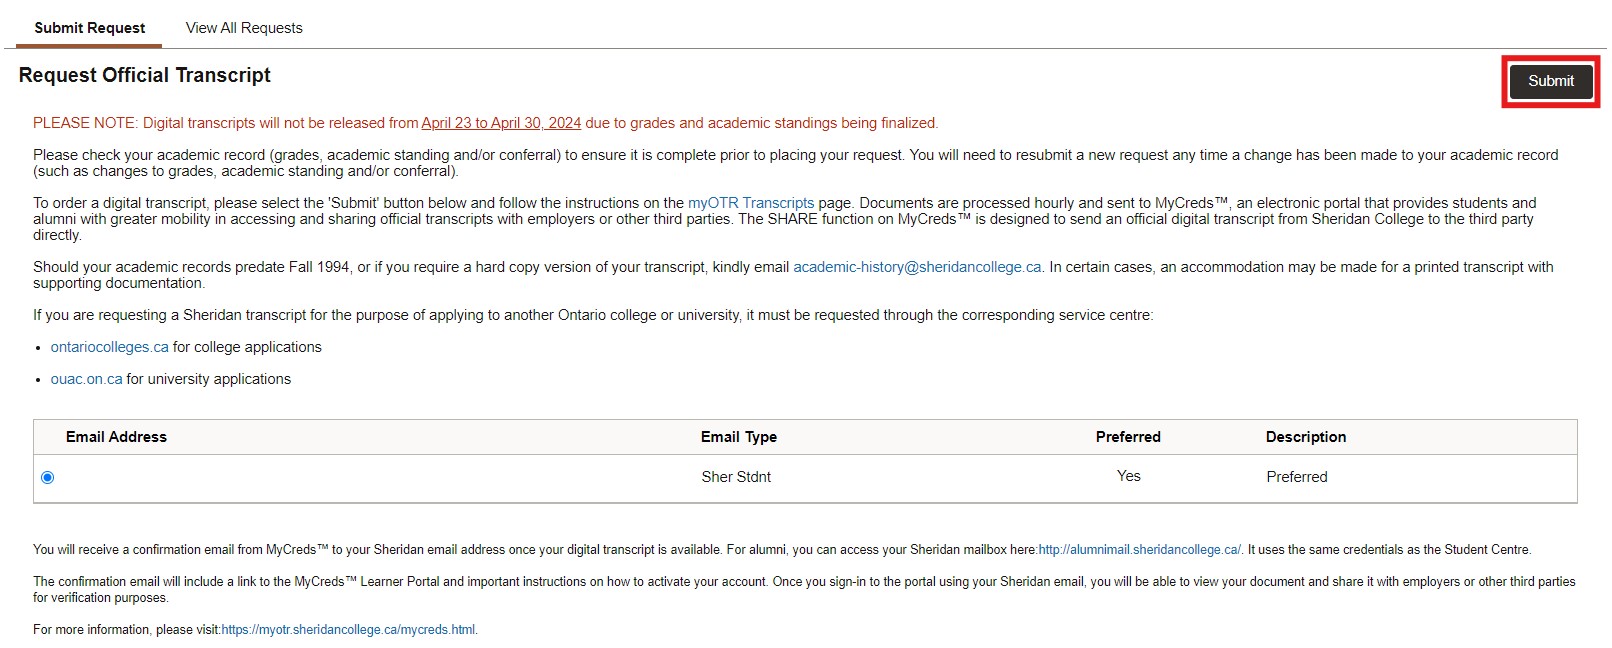
In the left-hand sidebar, click Request Official Transcript
-
Click the Submit button on the top right corner of the page
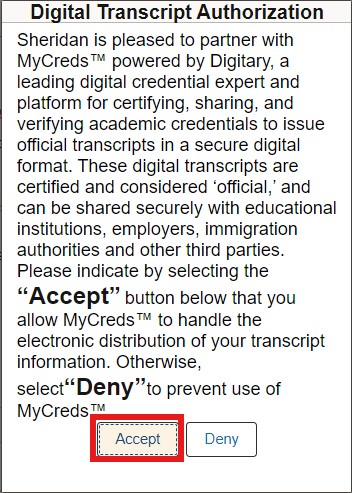
 Note: If this is the first time you are using MyCreds™ with Sheridan, you will need to give your authorization by clicking "Accept" on the "Digital Transcript Authorization" form that pops up. You will not be able to use MyCreds™ with Sheridan or request a digital transcript until you give your authorization.
-
Select the View All Requests tab to see the status of your request.


You will receive a confirmation email from MyCreds™ to your Sheridan email address once your digital transcript is available.
If this is the first time you are using MyCreds™ with Sheridan, the confirmation email will include a link to Register your account.
IMPORTANT: When registering with MyCreds™, please use the email address displayed in myStudentCentre.
For alumni, you can access your Sheridan mailbox here: http://alumnimail.sheridancollege.ca/ It requires the same login details as myStudent Centre.
Accessible formats of transcripts may be made available to students with disabilities, upon request. Please contact registrar@sheridancollege.ca.
If approved, an accommodation may be made for a printed transcript. The cost of a printed transcript will be $15, plus a courier fee if applicable, and tax. Please email academic-history@sheridancollege.ca to inquire about this option.
Registering with MyCreds™ for the first time
In order to get a transcript, you are first required to make a request via myStudent Centre.
You will receive a confirmation email from MyCreds ™ to your Sheridan email address once your digital transcript is available.
For alumni, you can access your Sheridan mailbox here: http://alumnimail.sheridancollege.ca/. It requires the same login details as myStudent Centre.
If you don't already have a MyCreds™ account associated with your Sheridan student email address, you will need to register with MyCreds™, free of charge, before you can access/share your transcript.
Click the following option for written instructions:
Registering with MyCreds™ for the first time
- Click the "Register" link in the email that was sent to your Sheridan student email address after your first transcript request through myStudent Centre.
-
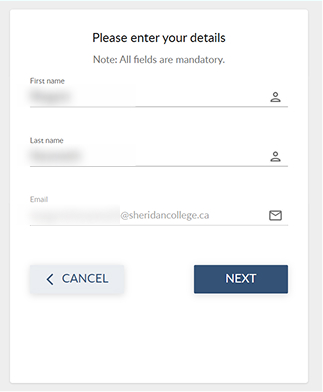
Fill in all the fields of the form. The "Email" field will already be populated with your Sheridan student email address. You cannot change this to your personal email address.
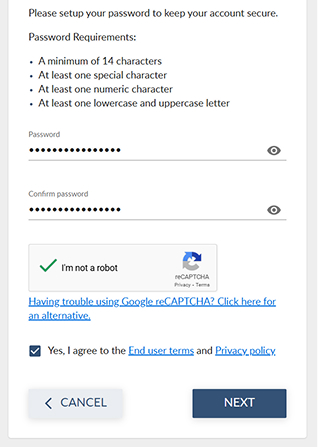
- Create a password for your account following the requirements. Before continuing, complete the Captcha and agree to the User end terms and Privacy Policy.
-
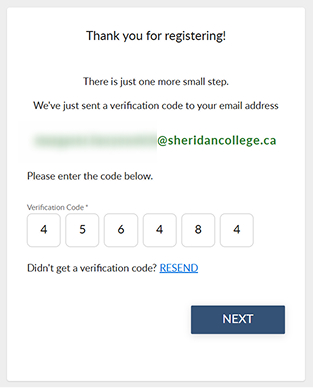
Upon successful registration, you will be sent an email with a code to activate your account.
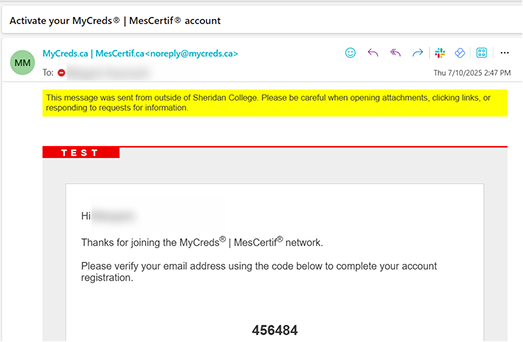
-
Activate your account by entering the verification code you received in your email and click NEXT.
- You can now Sign in to MyCreds™ using your Sheridan student email address and the password you created during registration.
How to Purchase Share Credits through MyCreds™
Before sharing your transcript, you must purchase a Share Credit on the MyCreds™ platform. The checkout is on the website. This costs CAD $15 plus tax, and is viable for one share.
Students who complete their program from Spring/Summer 2025 onwards will receive a copy of their transcript upon graduation, alongside one Share Credit on their MyCreds™ account.
Purchasing a Share Credit on MyCreds™
-
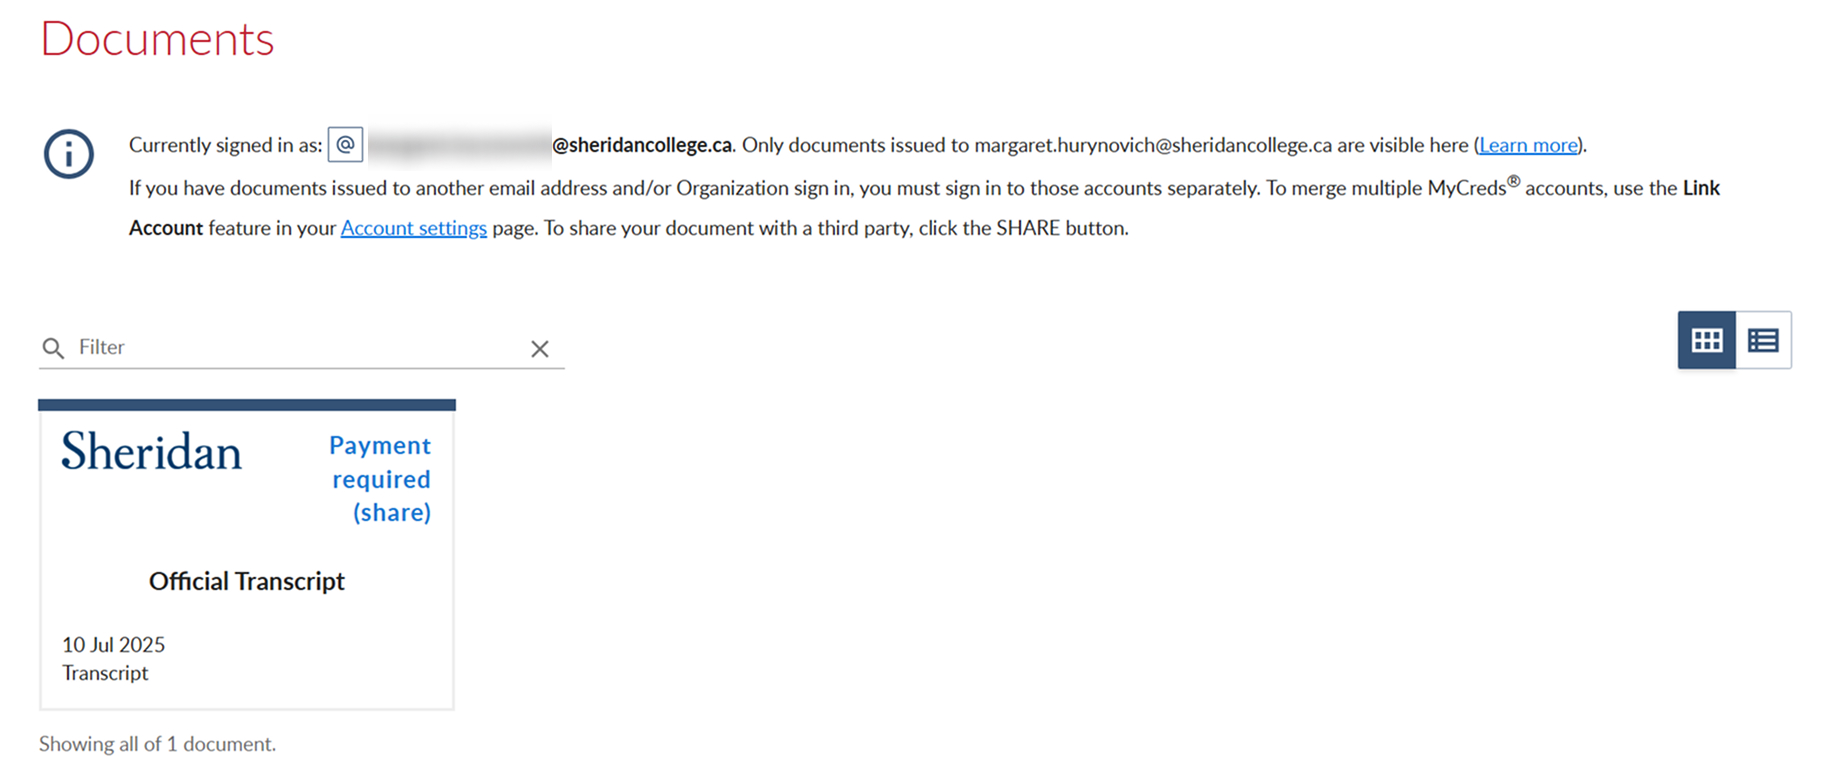
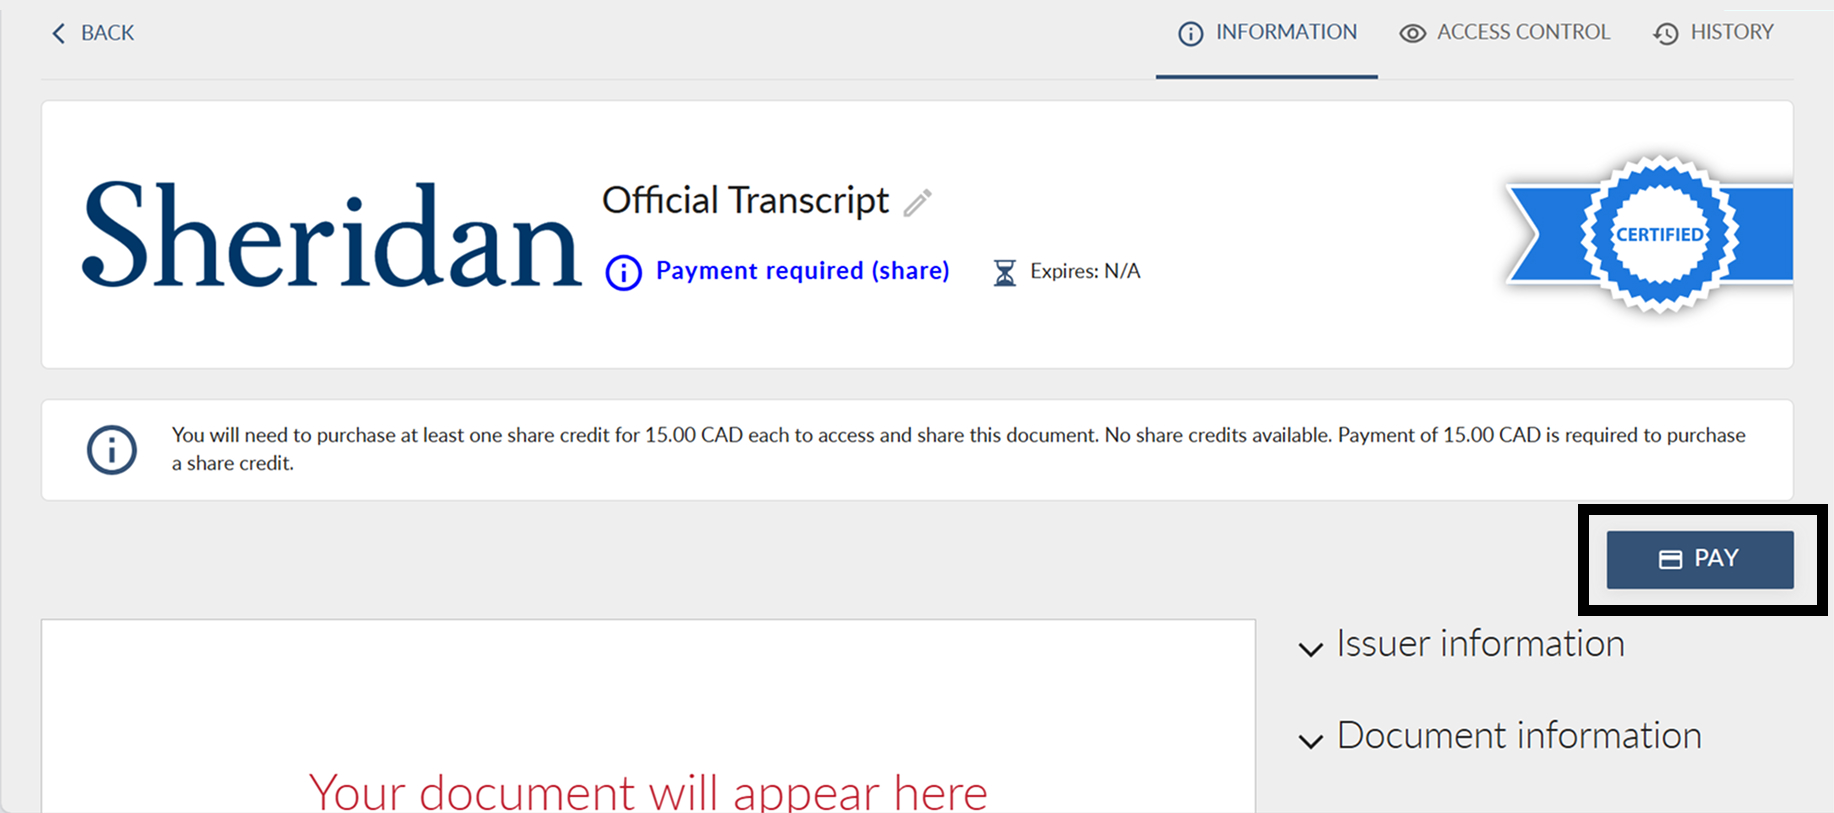
When you open MyCreds™, you will see the transcript that was requested earlier. The share status will say "Payment required (share)" if you don't have a Share Credit. You may have one Share Credit if you have already graduated and not used it yet. If you already have a share credit, you can share your transcript without purchasing a Share Credit.
- Select a transcript, and go to "pay." You will not be able to see the official transcript until you have a Share Credit. Any Share Credit you purchase can be used on any transcript after you purchase it.
-
Select the amount of Share Credits to be purchased. The maximum is 5 at a time.
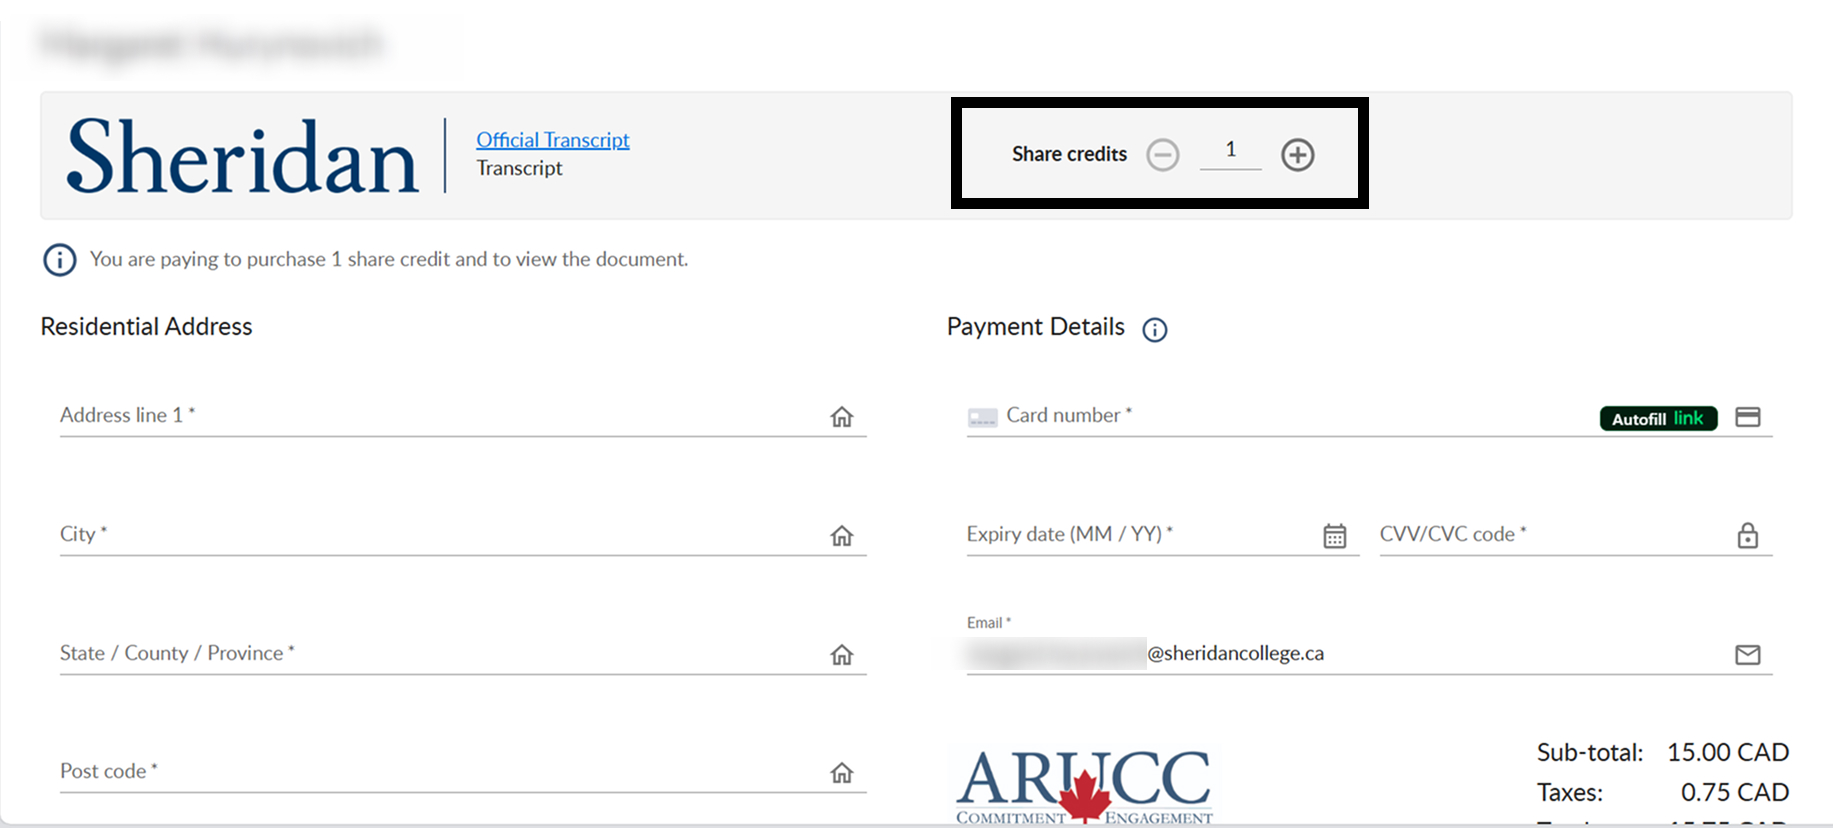
-
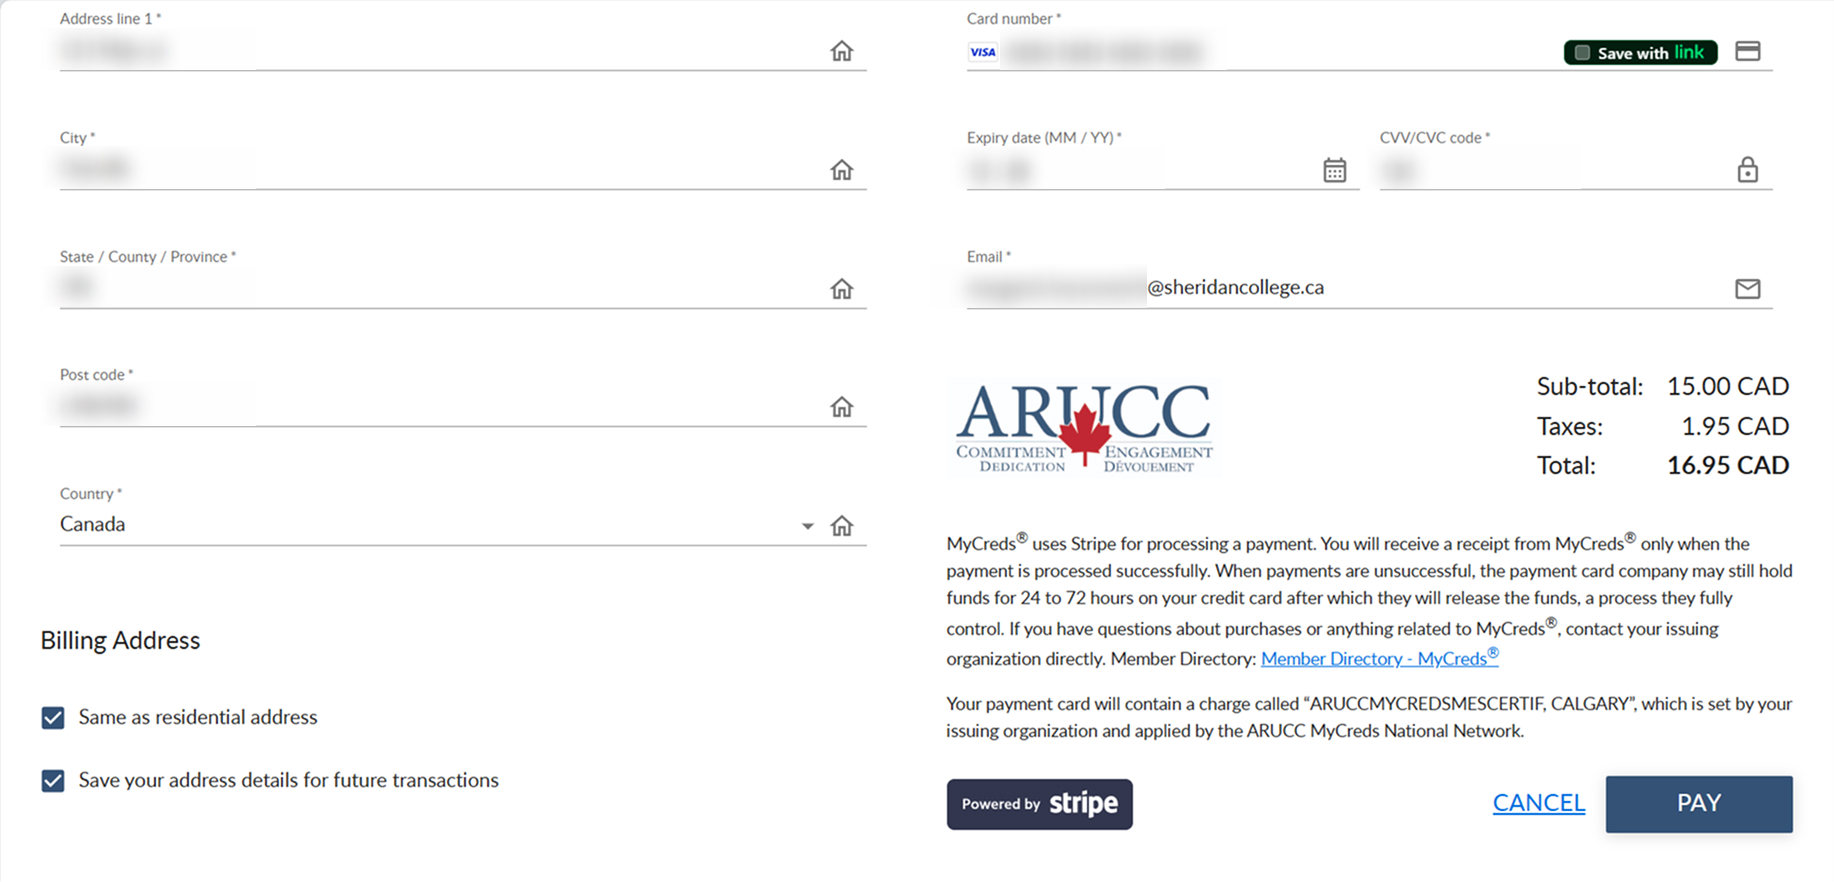
Add in your checkout details. Remember to check "Same as residential address" and "Save your address for future transactions" if applicable, and click PAY. The total, including tax, will be CAD $16.95.
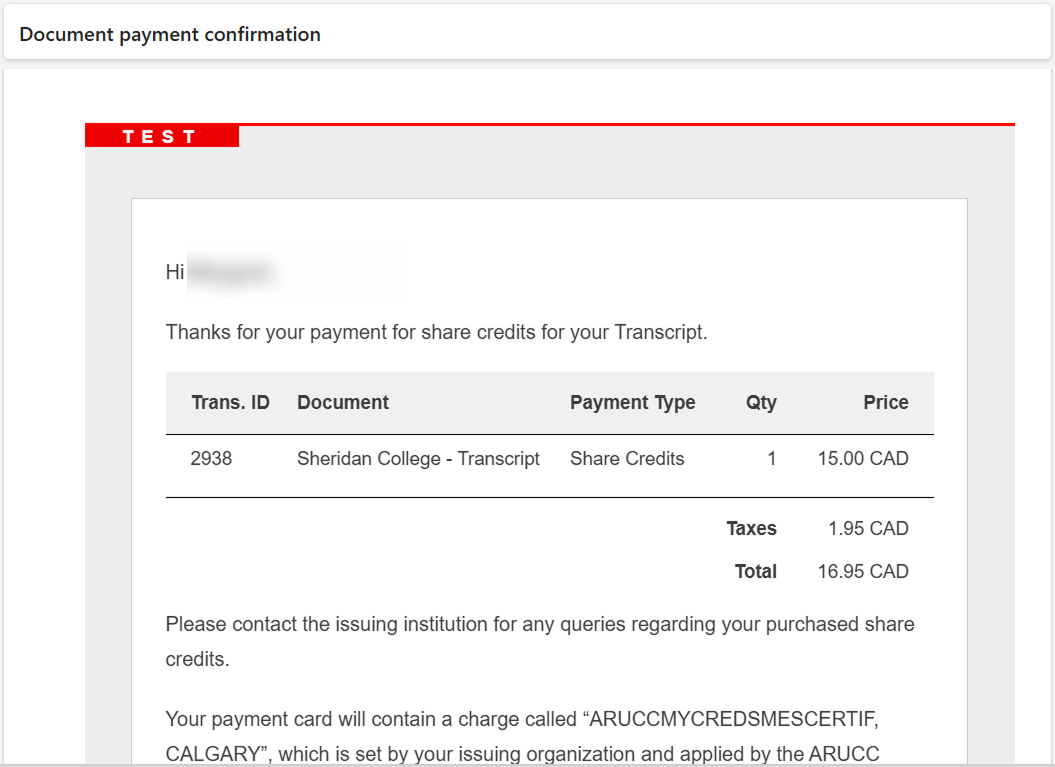
-
You will receive a transaction receipt in your email after making the purchase.
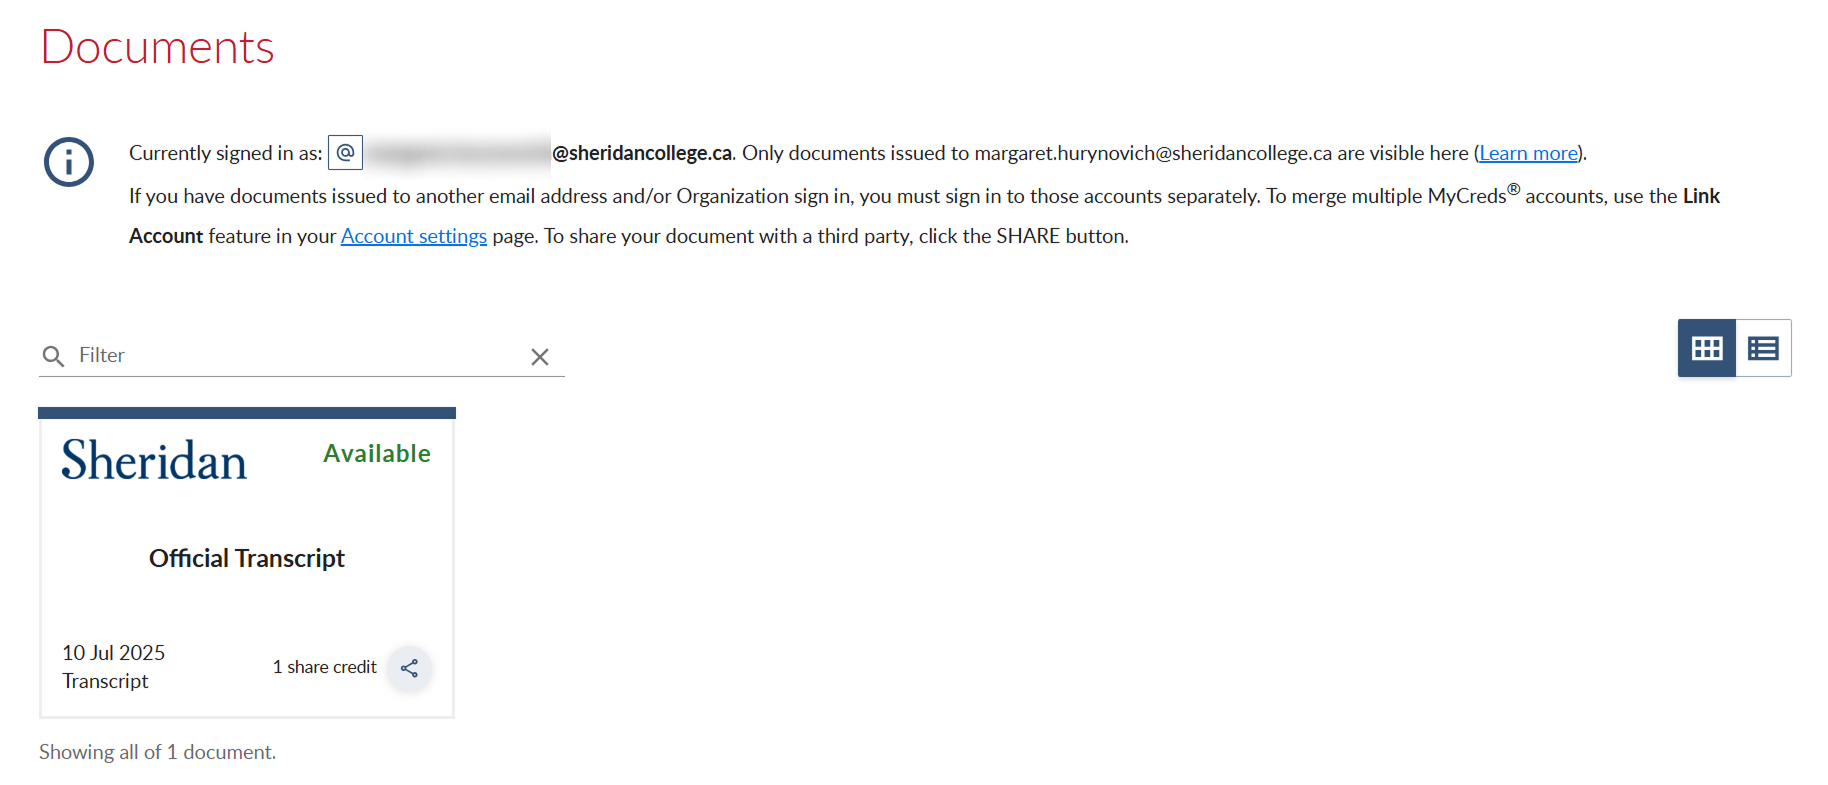
-
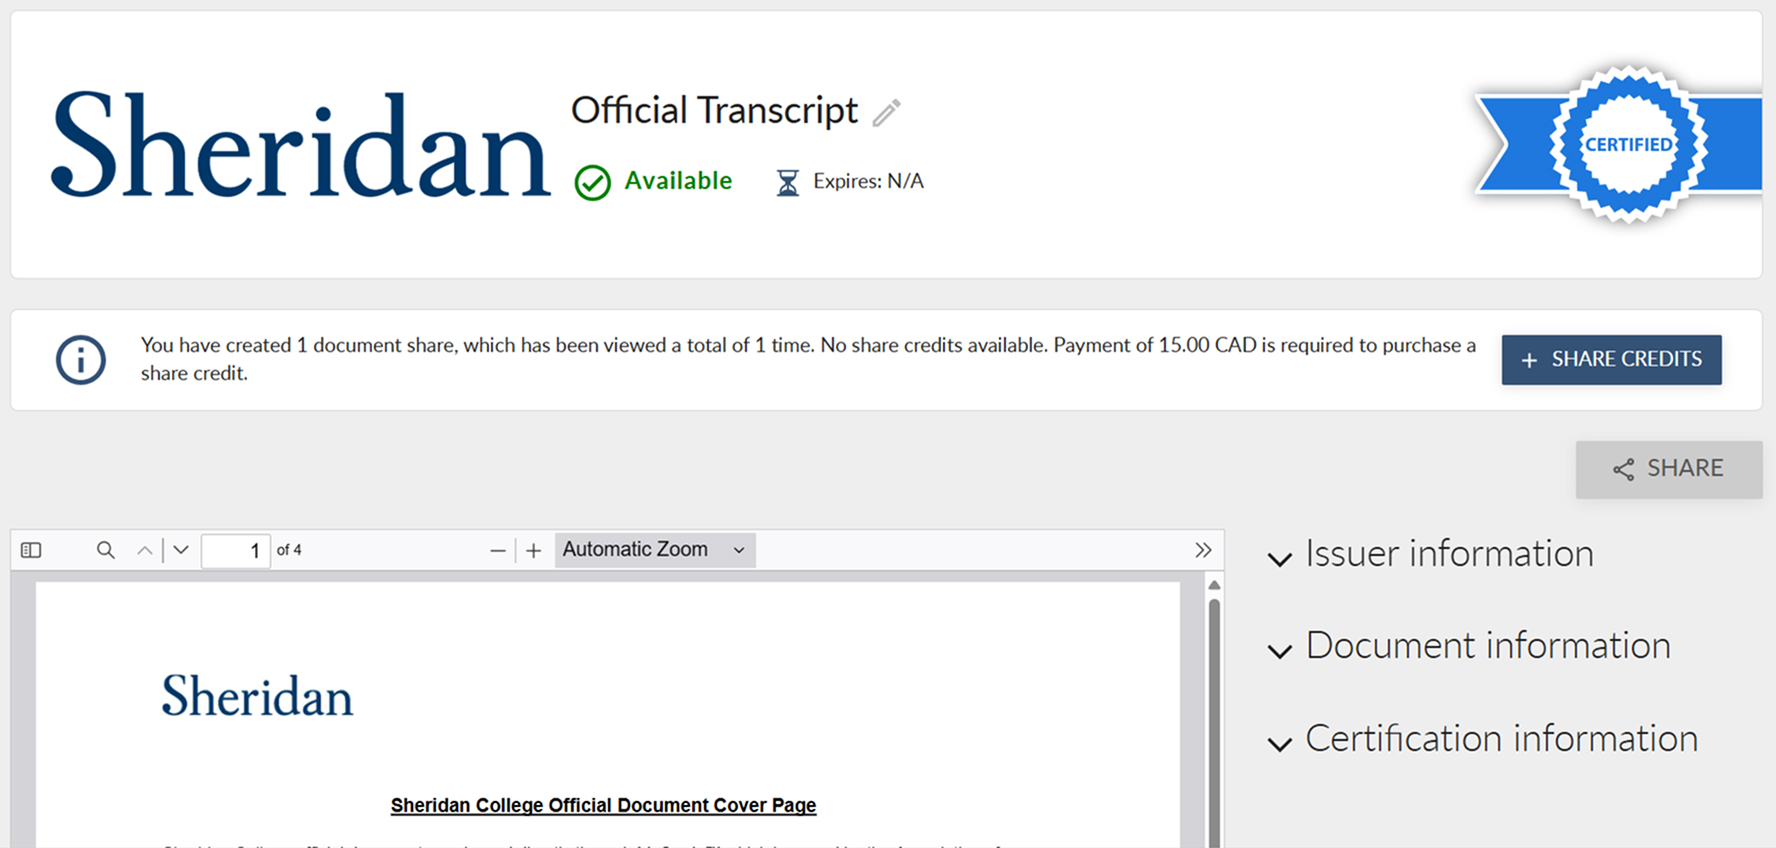
Now that you've purchased a Share Credit, you will see a verifcation of the purchase on the website, and your transcripts will now have the "share" option. Make sure you select the correct transcript before using a Share Credit.

-
On the front page, transcripts' share status will say "avaliable" until all the Share Credits are used.
I Purchased Too Many Share Credits. Can I Get a Refund?
Refunds are not available for unused share credits. However, any unused credits will remain in your MyCreds™ wallet for future use.
We strongly recommend purchasing share credits one at a time, as needed, when requesting documents.
How to Share your Digital Transcript through MyCreds™
There are many ways you can share your transcripts. Whichever method you choose will allow the recipient to always see the most updated version of your transcript, so you do not need to re-share your transcript if it has been updated.
We recommend sharing your transcript using the Organisation option for optimal processing times, and this way if any update is made to your transcript, you won't need to do anything because they will be notified automatically in their inbox.
If the organisation is not listed as a "registered organisation", you can still share your transcript with them by using one of the following options: Email or Public on the web Securely or Public on the web.
Note: The link generated by the Public on the web Securely or Public on the web options will point to the most updated version of your transcript, however, the recipient won't be notified when updates are made. You must manually notify the recipient or share it again.
Click one of the options below for written instructions. If you would like to enlarge any of the images, you may click on them to open a larger display.
Sharing a Digital Transcript
- Log in to your MyCreds™ account that is associated with the transcript you want to share.
- Select your chosen transcript.
-
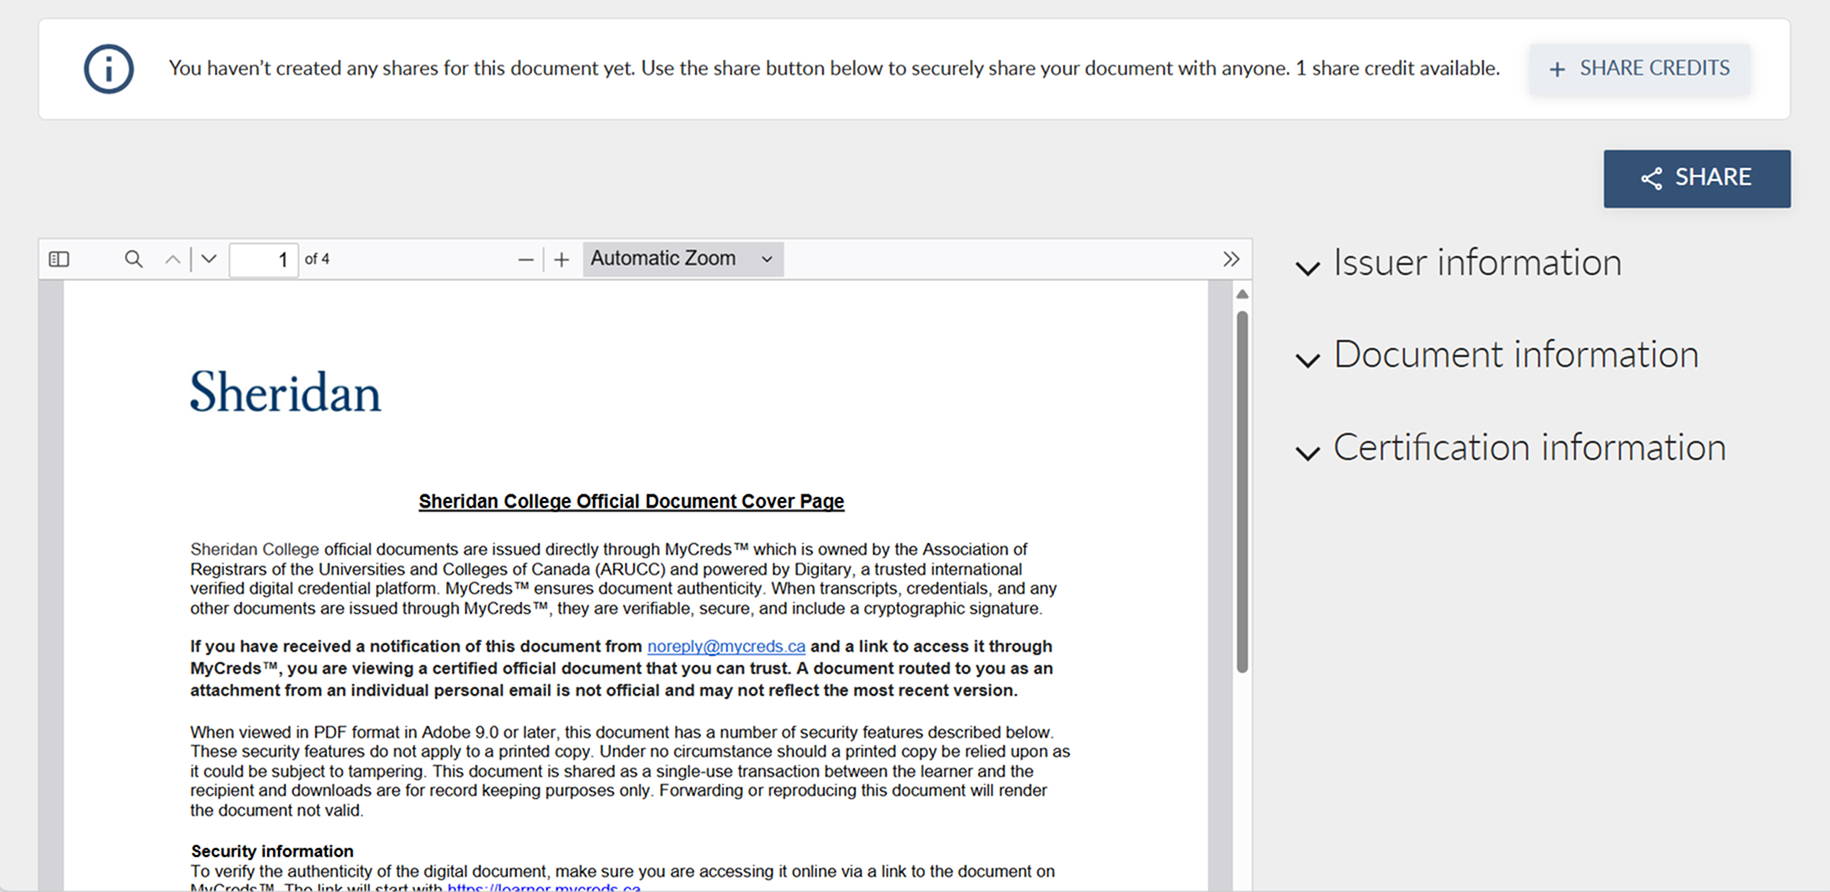
Click on SHARE associated with the transcript you want to share on the home page or the transcript page. The transcript will not be visible before a Share Credit has been purchased.
-
Choose the method the transcript should be shared.
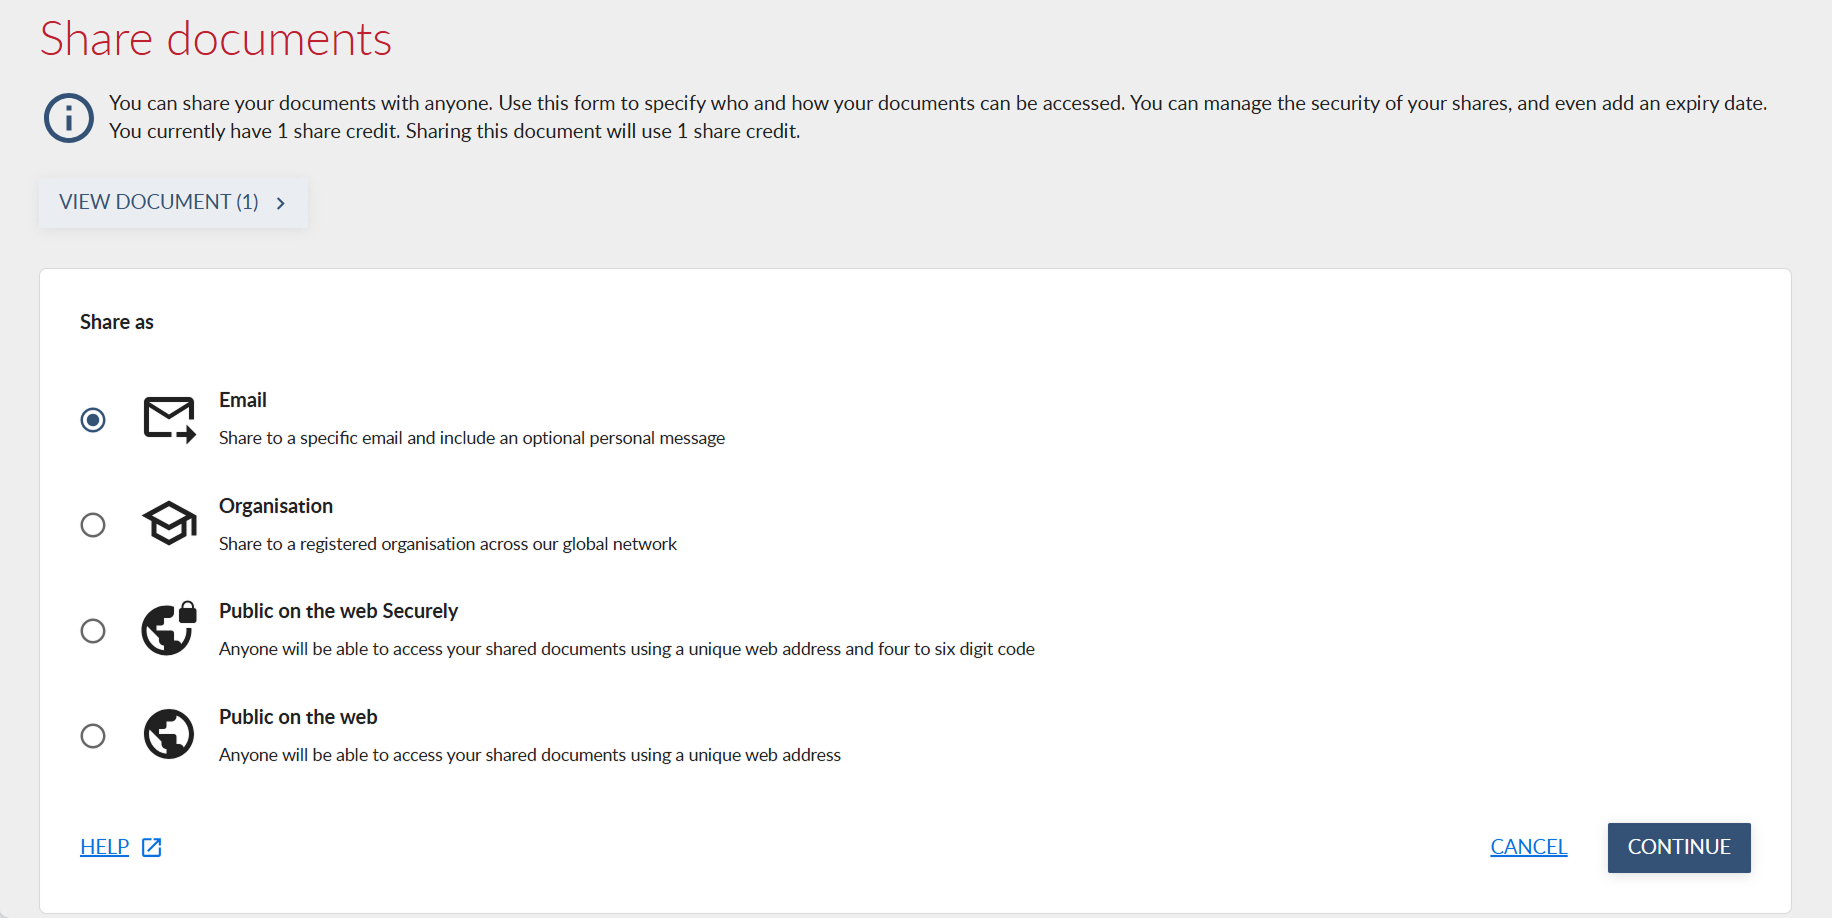
Share Methods:- Email: Transcript will be delivered to the recipient's email from MyCreds™.
- Organisation: Transcript will be shared with an organisation or institution.
- Public on the web Securely: Transcript will be published though a link secured by a PIN.
- Public on the web: Transcript will be published through a link.
-
Fill in the mandatory form fields.
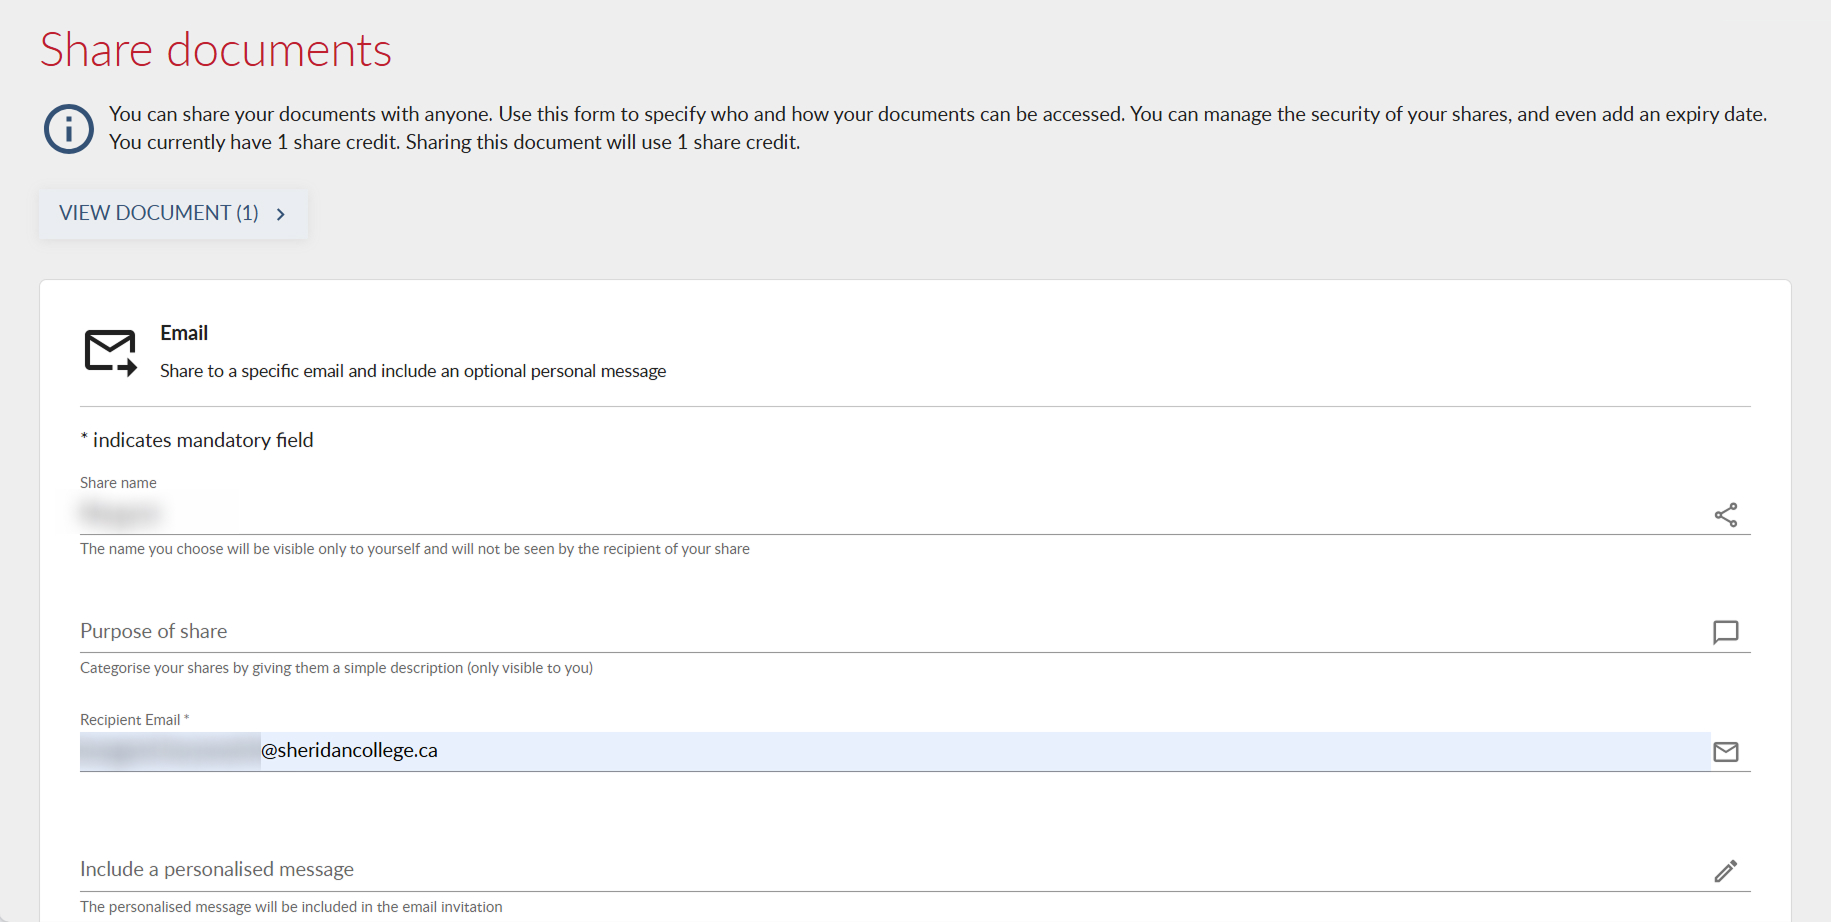
Fill in the optional fields if needed:- Share name: Give your document a name to keep a record of it – this will only be visible to you.
- Purpose of share: Give your document a description to help categorize it – this will only be visible to you.
- Include a personalized message: This message will be included in the email to your recipient.
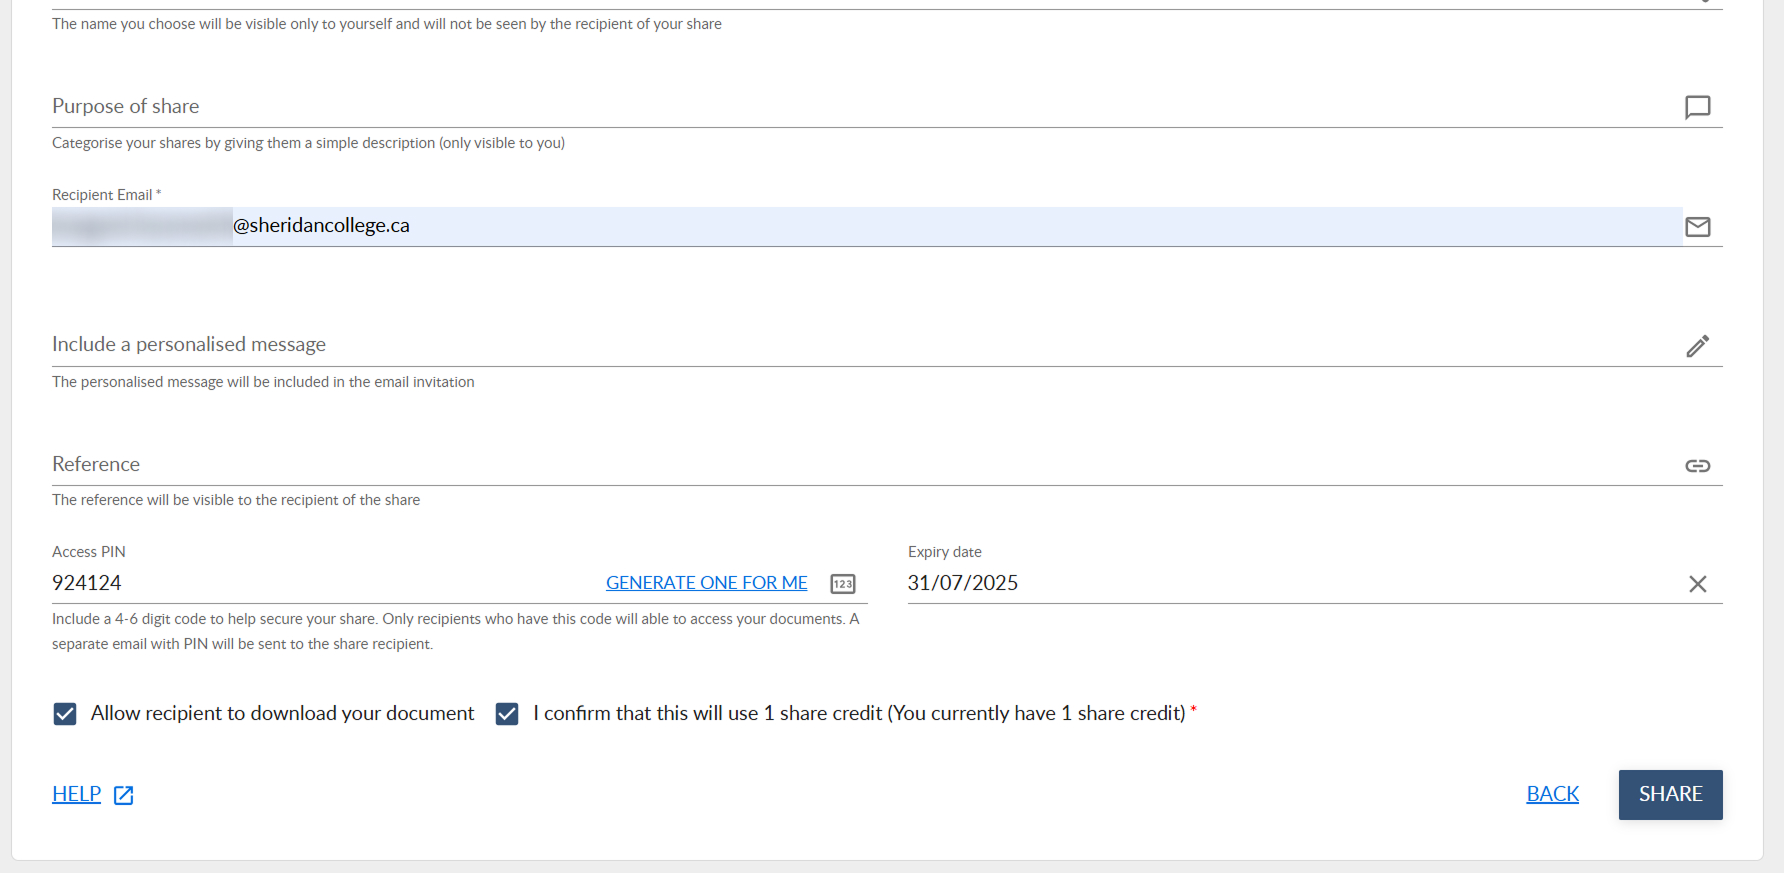
- Reference: Identify any information that would help the recipient match the transcript to your account – eg. Your email address, student number, application number, etc.
- Access PIN: Include a 4-6 digit code to help secure your share. Only recipients who have this code will able to access your documents.
- Expiry date: Select the final date that the document should remain available for the recipient.
-
Check the confirmation box about using 1 Share Credit. Then click SHARE.
-
A following message will appear to indicate that your transcript was shared successfully. If the transcript was shared on the web, click COPY and share the link with your recipient.
Click FINISH.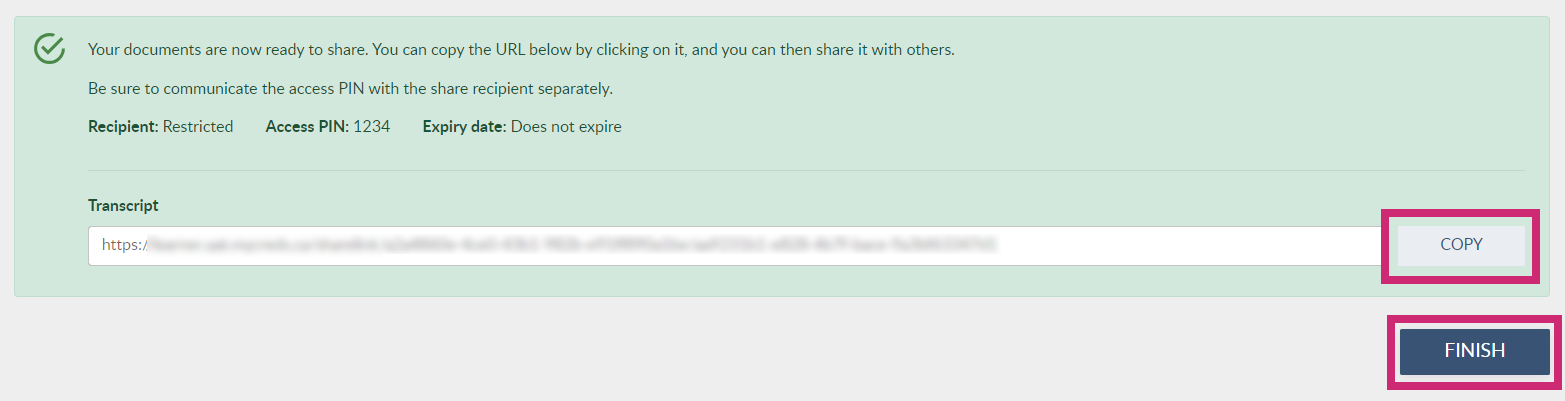
-
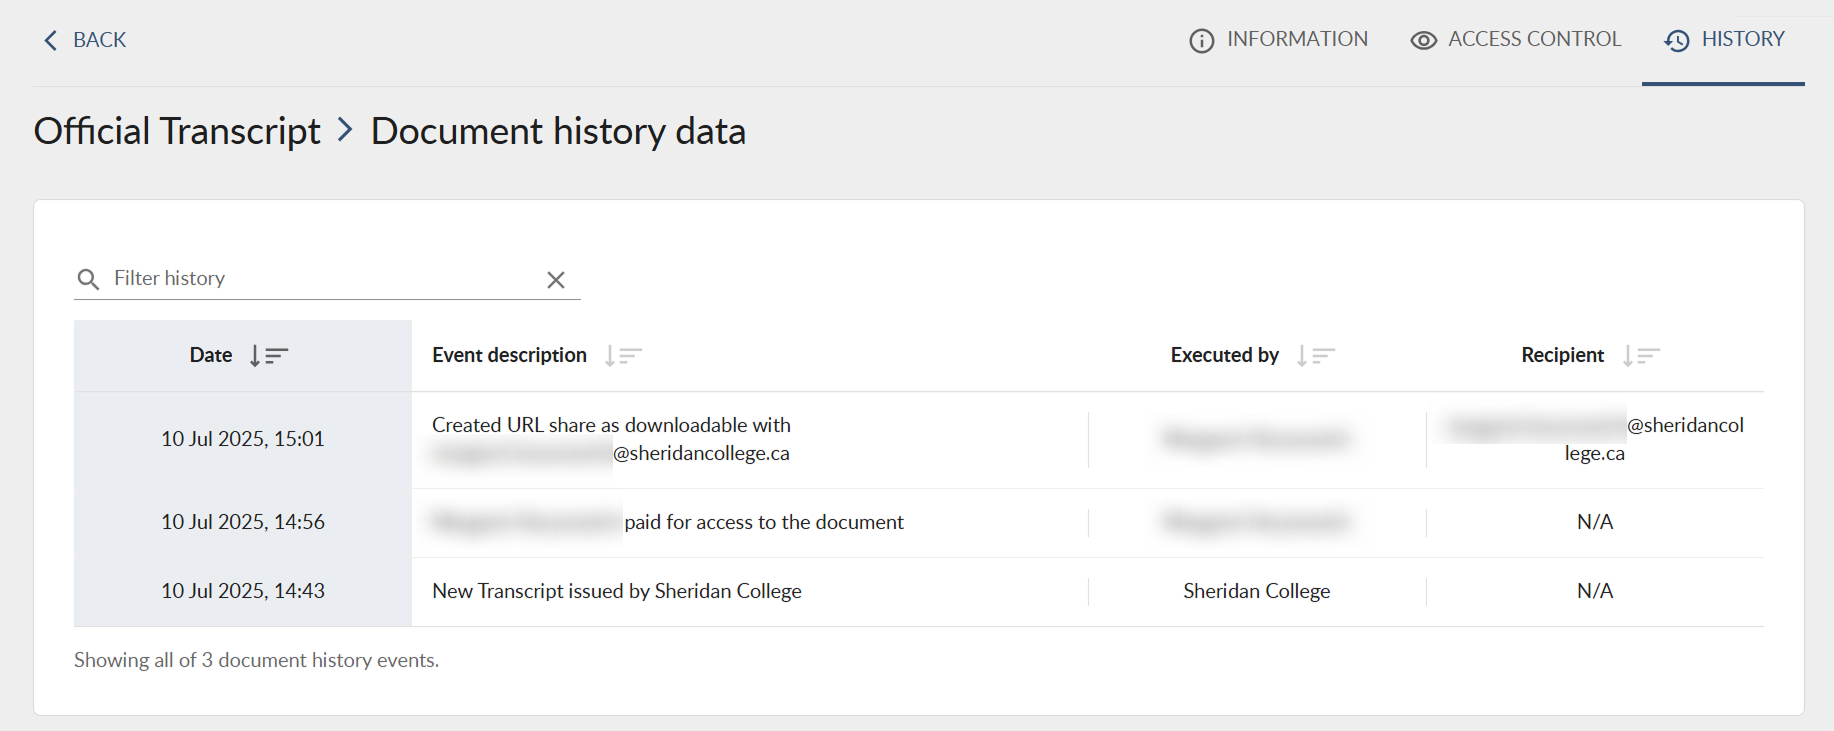
This action will be recorded in the document's history.
-
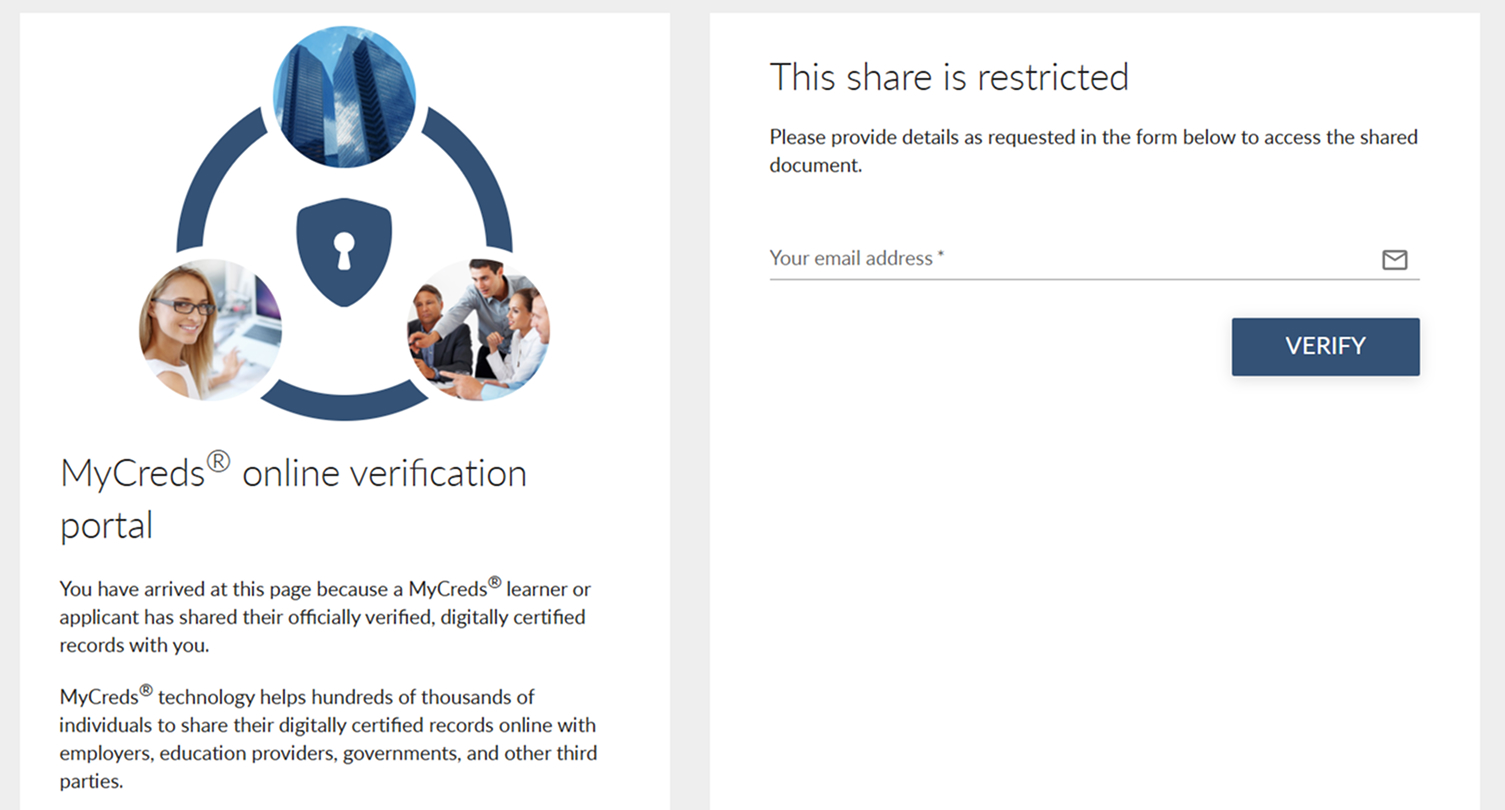
When the recipient opens the shared transcript, they will have to bypass the transcript's restriction. If the transcript had a PIN, this is where the recipient enters it.
-
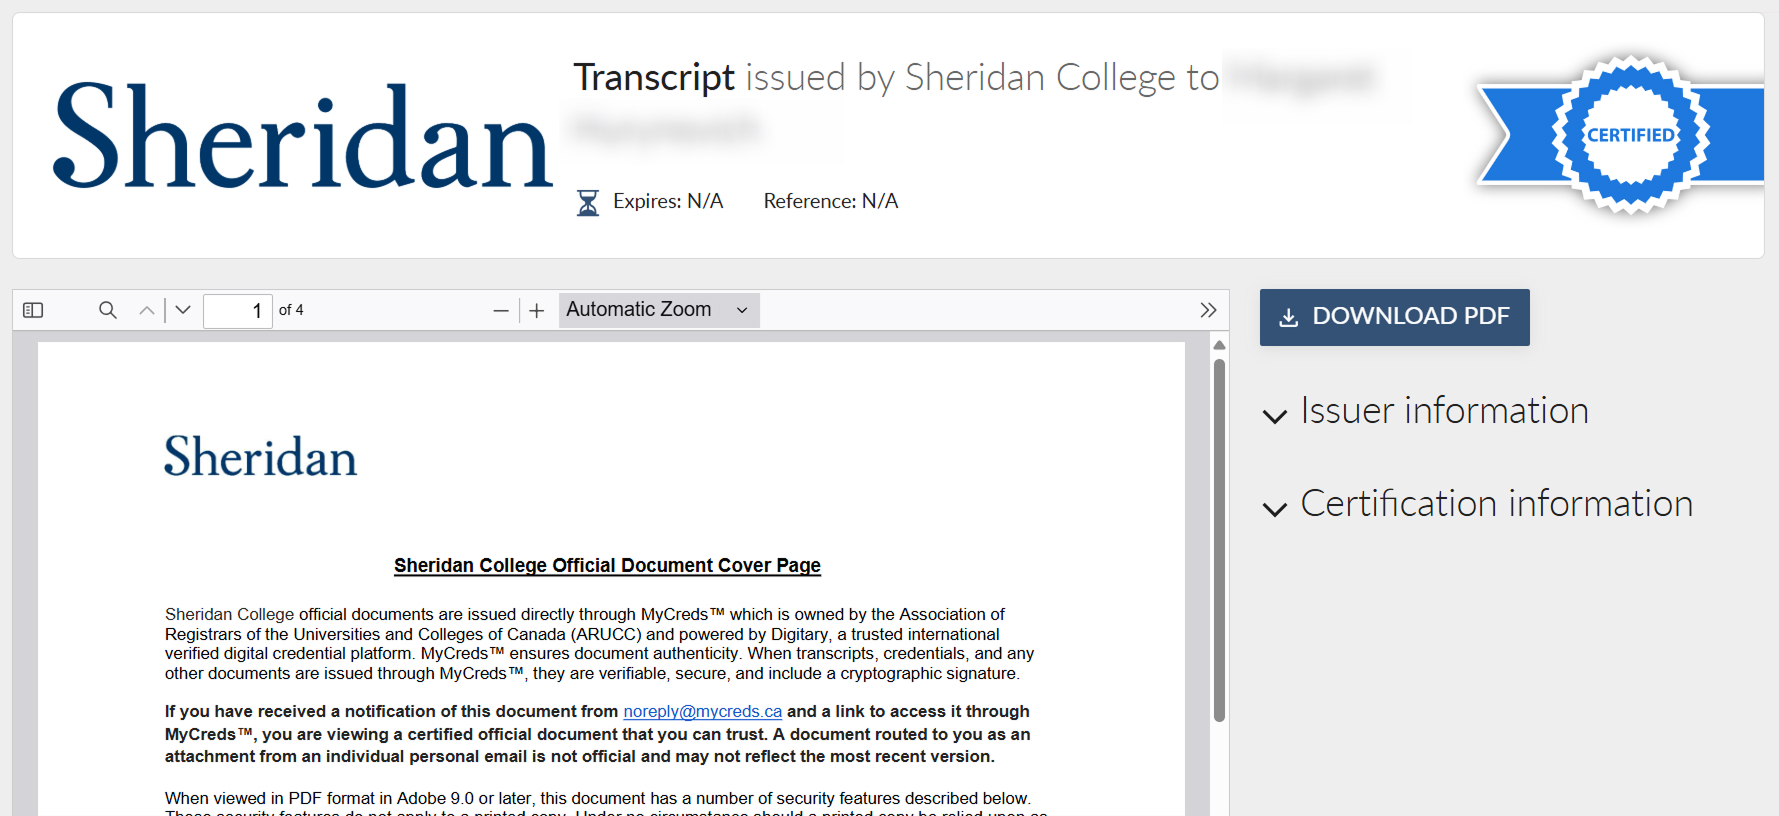
Once they bypassed the restriction, the recipient will be able to download and view the transcript.
-
On the Transcript's page, you will now be able to view the document.
If you would like an updated version of your transcript, submit a new request via the MyStudent Centre. Once your new request has been processed, you will receive an email notifying you that your previous transcript in MyCreds has been updated. Any previous shares of your document will also be updated for the recipients; however, a notification is not sent to those previous recipients.
NOTE: A new share credit must be purchased to access an updated transcript if you do not have any available share credits.
How to reset your MyCreds™ password
You can reset the password for your MyCreds™ account by clicking on the "Can't sign in?" link on the MyCreds™ login page. This will send a reset password email to your student email address.
Make sure you specify the same email address that you used to register.
Sharing History
Click the following option for written instructions:
View Sharing History, Edit Share details, Disable/Enable Share
-
Click the "Sharing" tab on the left.
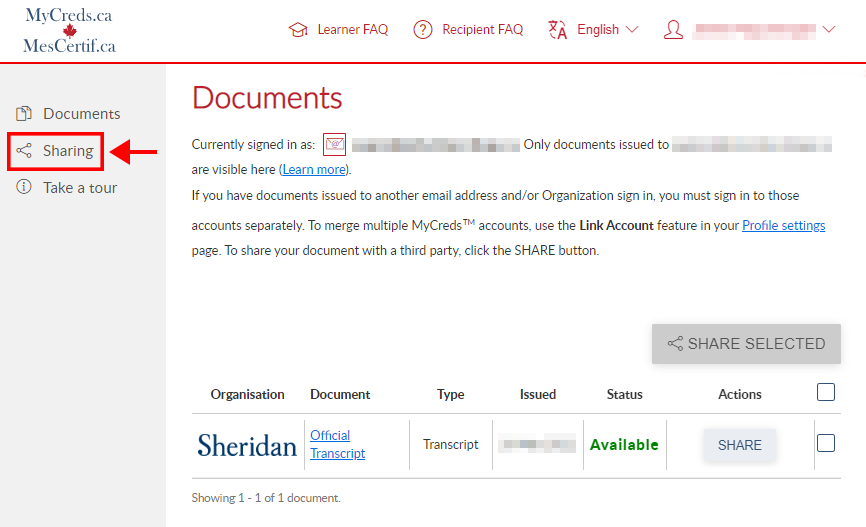
-
This will take you to the "Shares" page which allows you to view a list of all of your past shares.
Though it is not possible to cancel or undo a share after you have sent it to someone, you can "DISABLE" or "ENABLE" any of your past shares.
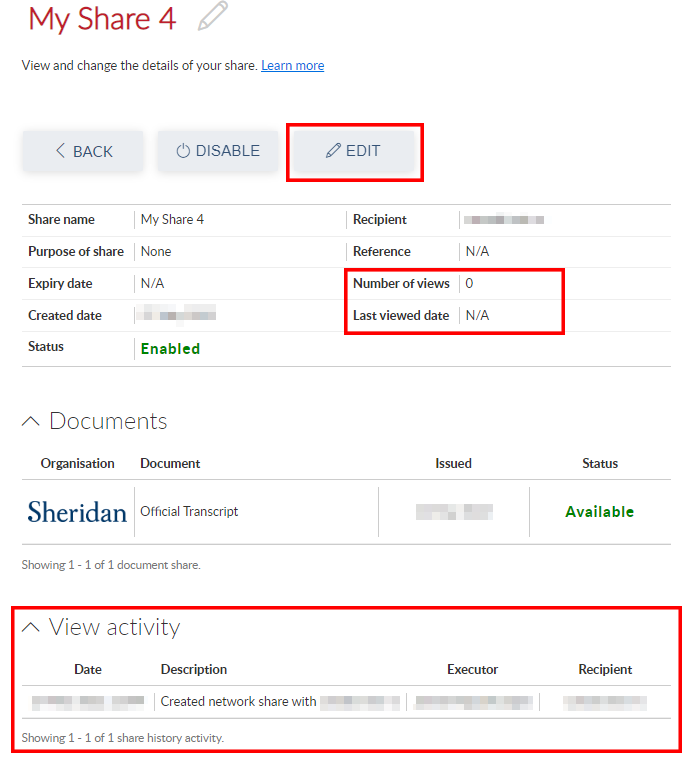
Click on a "Share name" to see more information about a specific share.
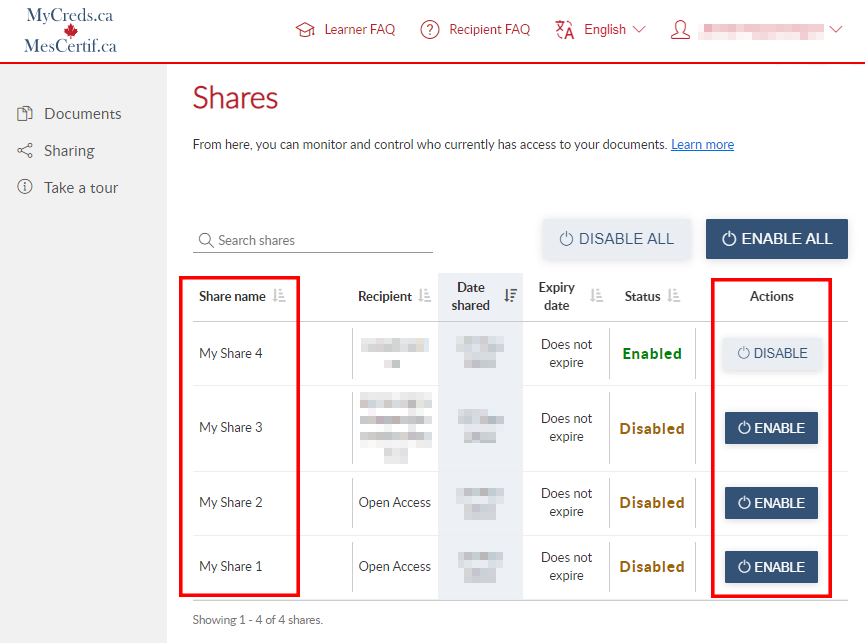
-
Click "EDIT" to change any of the share details, such as the "Share name", "Expiry date", etc.
On the share details page, you will also be able to see information like the "Number of views" and the date your transcript was last viewed. To see who viewed your transcript and when, click "View activity" at the bottom.